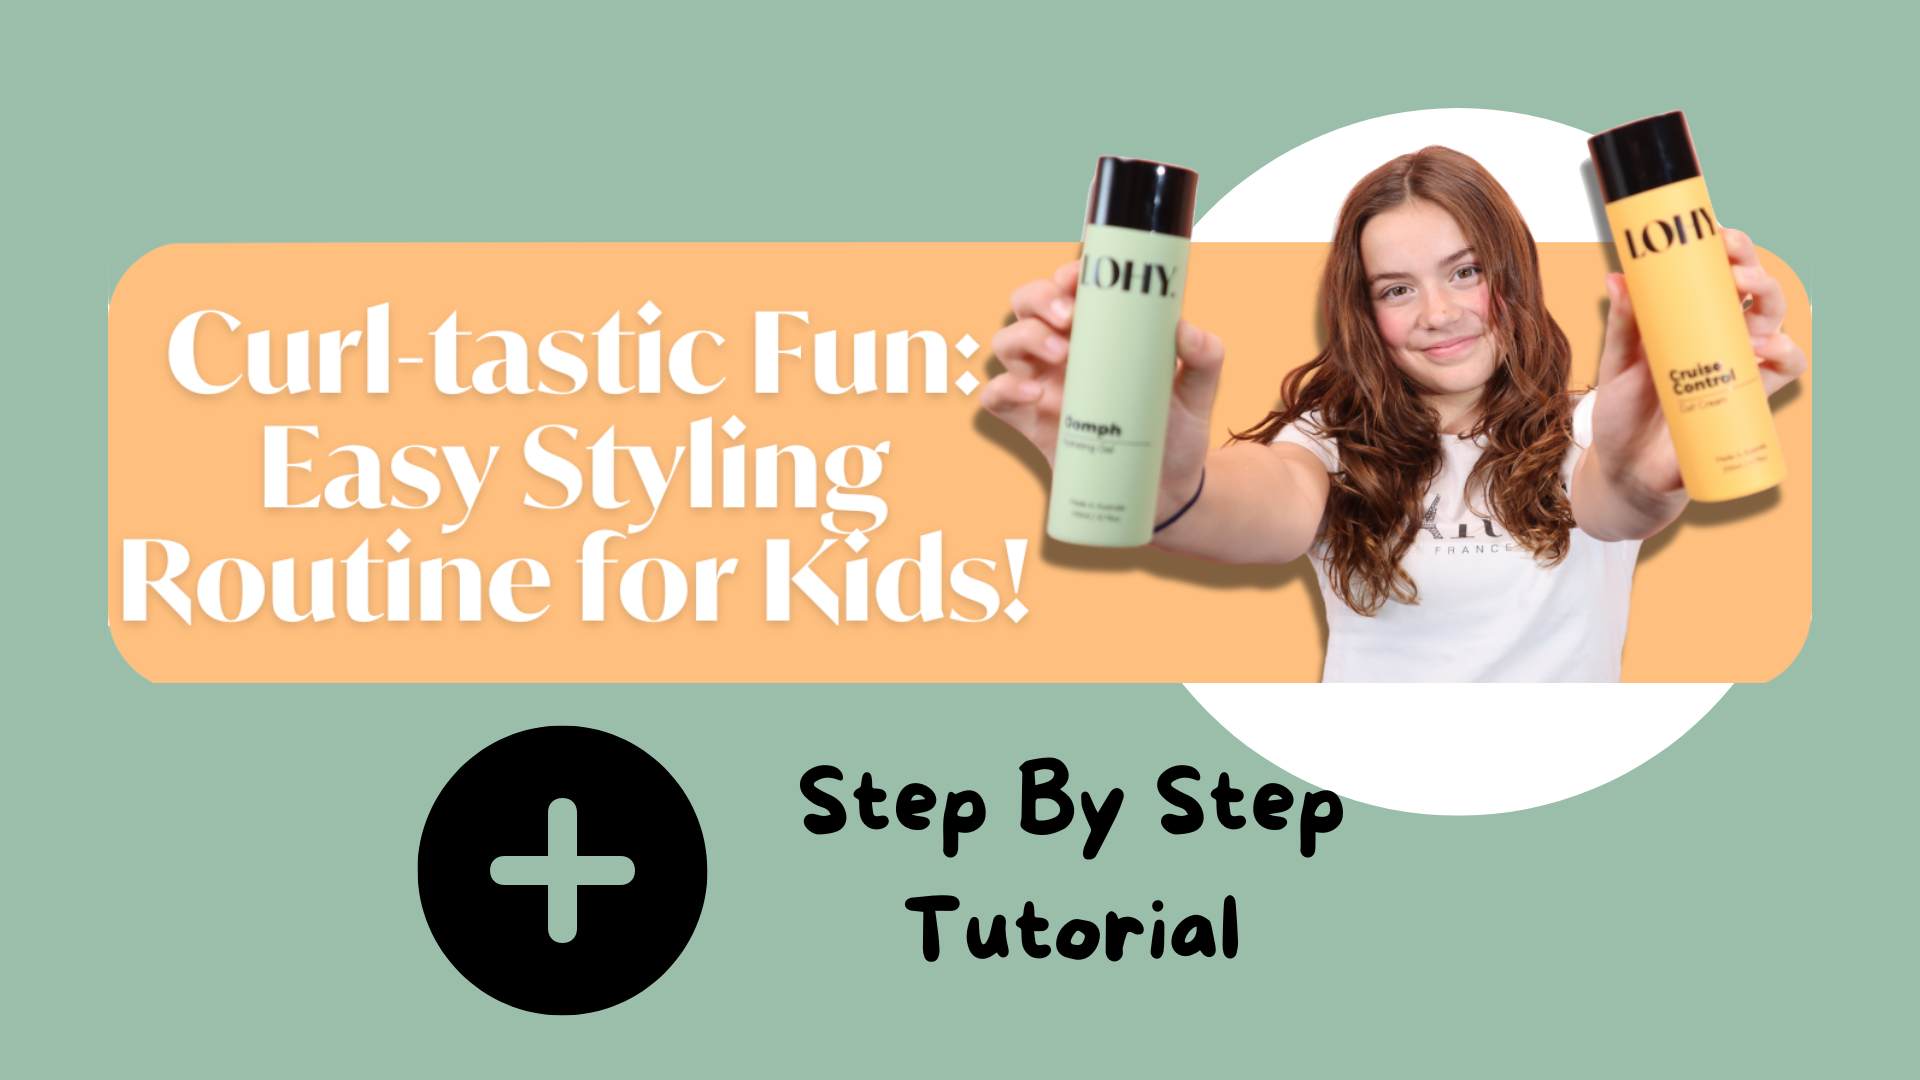
The Ultimate Styling Routine For Your Curly Kid!
We know teaching your kids to look after themselves can be a challenge.
We’ve simplified the task, and created a video tutorial + a step by step styling guide for your curly kid that's easy peasy to follow. (See below).

Why don't kids style their hair?
Many reasons. Often they can't be bothered. They don't know how. It's too hard. Tangles hurt. They’re too young to think about it.
I remember when I was a child with wavy (aka frizzy/unruly) hair feeling overwhelmed by looking after it. It was easier to hide the knots, tie it up, and deal with it later. Relatable?
Here’s the thing.. Kids won't do their hair if they don't know how, and don't have the tools. There can be other reasons, like laziness. However if you have a curly haired kid, or a teenager who isn't looking after their hair, or styling it for their day, it’s more than likely they simply don't know how.
Education + Technique + Products = Results.
Styling doesn't have to be an event. Or a big deal. It can be as simple as washing, hydrating and brushing your hair ready for the day.
We’ve simplified our #curlsmadeeasy curly haired routines and created the curl-tastic kids styling routine so that even a primary school aged kid can achieve some pretty great results. And if your kids are little and wanting to learn to do their own hair, help them! You’ll thank us later when they’re teenagers, trust me!
Lets GO!
Video Tutorial
Kids Routine Steps Gif by Jonina Menzies
Your Kids Step By Step Guide
What you'll need:
- Cold Shoulder Guard - minimising then sensory "ick" of wet hair on shoulders.
- Cruise Control Curl Cream
- Oomph Hydrating Gel
- Flexi Brush
- Curl Hydration Glove
- Diffuser
Step 1: Section your hair
- Divide Hair: (especially if it's long) Use clips or hair ties to create manageable sections
- Why?: This helps in applying products evenly
Step 2: Apply Curl Cream
- Apply: Cruise Control Curl Cream to the mids and ends of each section.
- Distribute: Use the Flexi Brush to spread the cream evenly.
Step 3: Apply Volumising Gel
- Rake: Oomph Volumising Gel through the entire length of your hair. (“raking” is gently running your fingers through your hair to create clumps)
- Even Distribution: Use the Flexi Brush to ensure every strand is coated. TWO styles of flexi brush available for comfort and flexibility.
Step 4: Define Your Curls
- Squish Curls: Gently scrunch your hair to encourage curl formation.
- Enhance: Use the Curl Hydration Glove to wick away excess water and define curls.
Step 5: Diffuse Your Hair
- Start Diffusing: Use a hair dryer with a diffuser attachment.
- Dry Evenly: Move around your head to ensure all curls are dried without disrupting their shape.
Step 6: Scrunch Out The Crunch
-
Finish Drying: Once curls are fully dry, gently scrunch your hair to remove any residual product crunch.
Step 7: Flaunt Your Curls
- Enjoy: Your curls are now perfectly defined and ready to show off!
Remember, fantastic results can take time and lots of practice!! So if you (or your child) don't get the results you were hoping for the first time, try and try again!
For more #curlsmadeeasy routines, for ALL hair types, take a peep at our online tutorials.


How To Decode The Lingo On Your Hair Care Products
I Permed My Naturally Curly Hair- Here’s What Happened!